DOWNGRADE GOOGLE PLAY SERVICES
Google Play Services is a background service that runs on Android, which in turn helps in integrating Google’s advanced functionalities to other applications. It is essentially an Application programming interface (API) for developers to enhance communication between apps. It is a bundle of a bunch of other services that aid a user.
NOTE:It is important to note here that this unrooted spoofing trick is only possible to achieve on Android devices running Android 6.0 (Marshmallow), Android 7.0 (Nougat), and Android 8.0 (Oreo). If your device has received an update that took it to the most latest Android version, i.e., either Android 8.1 or Android 9 then most probably you won’t be able to spoof using this method. However, you can still try this trick though. Who knows, it might work!
Download old version of Google Play Services for your Android device
First, you need to download an old version of Google Play Services for the specific model of your Android device. Here, to be able to spoof without root, spoofable versions are 12.5.29, 12.6.85, 12.6.87 and 12.6.88.
You need to look at the first six digits inside the parentheses. You need to find a variant whose number matches with the current version of Google Play Services already installed on your device.
Here’s an example:
My Android phone has the Google Play Services version with (040306) installed. So I will look for the same when downloading an older version of Google Play Services using the provided link. As highlighted in the screenshot bellow.
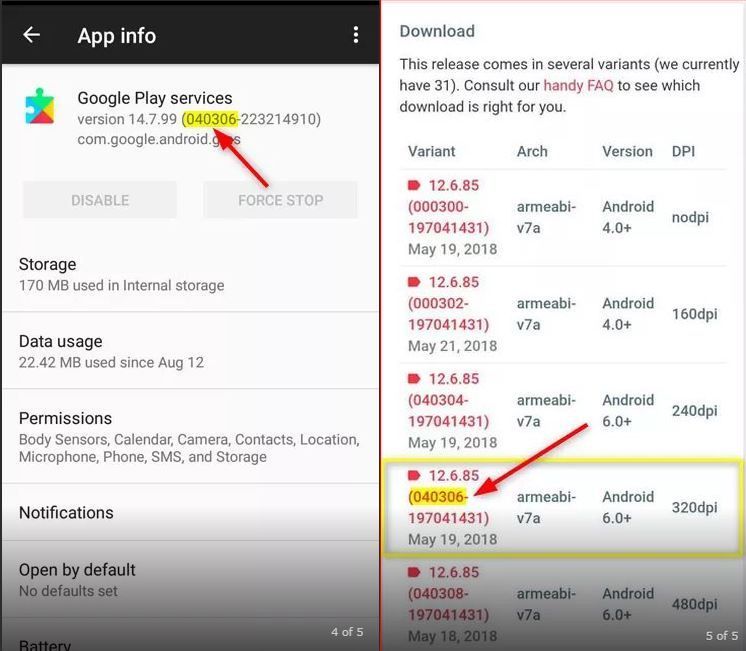
click image to enlarge
Download and install location spoofing app of your choice
There’s a limited number of location spoofing apps that are currently able to let you spoof your location in Pokémon GO without requiring you to have root access. Which means, the apps featured in these steps are the only ones using which you can spoof in the game without having root access.
Recommended GPS mocking app is FAKE GPS LOCATION- GPS JOYSTICK by The App Ninjas.
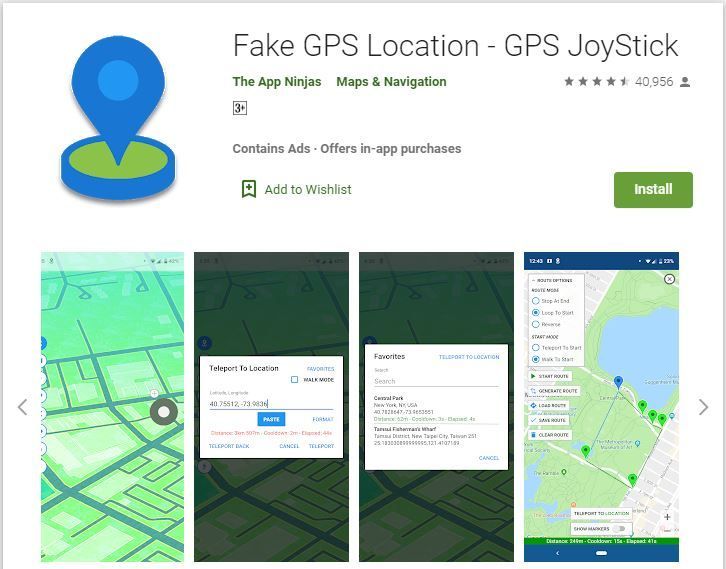
click image to enlarge
Disable Find My Device on your Android device
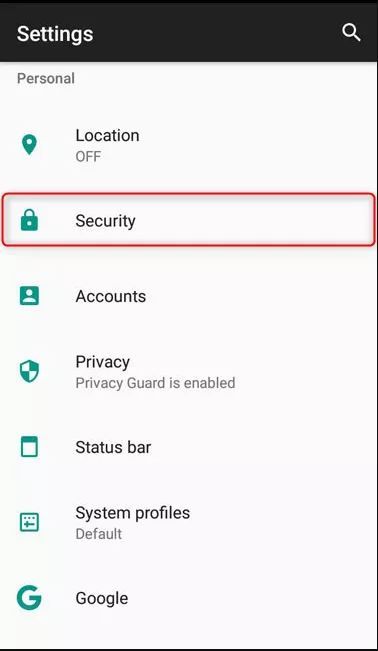
In this step, you will have to disable the Find My Device feature on your Android smartphone or tablet device because if this feature is enabled, then you won’t be able to downgrade or modify the Google Play Services. In case you don’t know, here is how to do that:
- Go to Settings and scroll down until you find Security option. Tap on it.
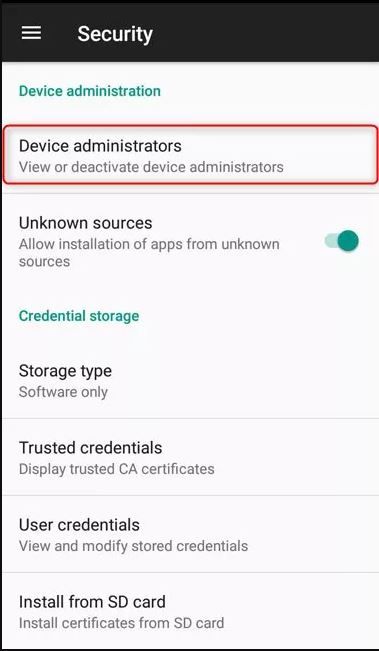
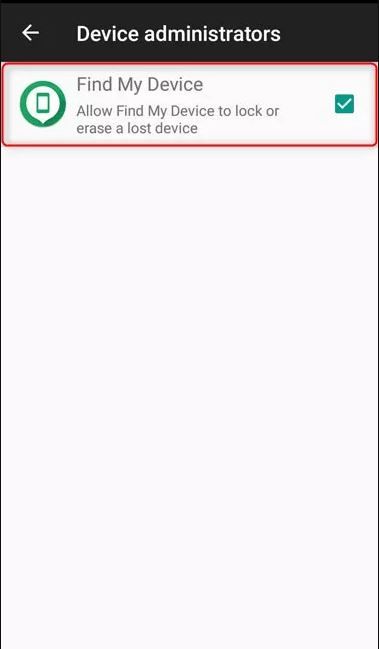
- Tap on Device administrators.
- You will see Find My Device option, which most probably will be enabled. Tap on it to disable it.
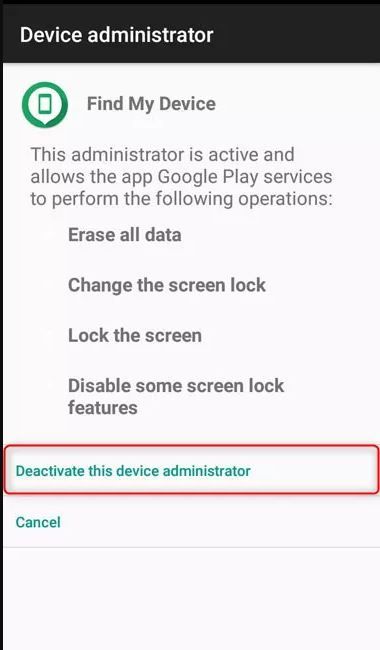
- A new page will open, and you need to tap the option “Deactivate this device administrator.”
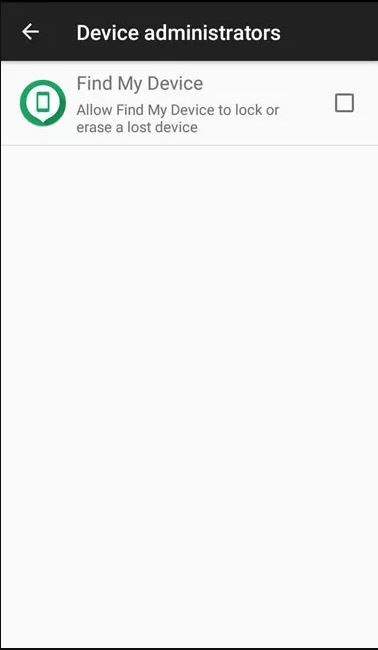
- Once you have successfully disabled the device administration, here is how it will look like.
click image to enlarge
click image to enlarge
click image to enlarge
click image to enlarge
click image to enlarge
Uninstall Google Play Services updates
This step will guide you with the uninstallation of the Google Play Services updates and revert it to its default factory version (stock). Here is how you can do this:
- Go to Settings and then find the Apps option. Tap on it.
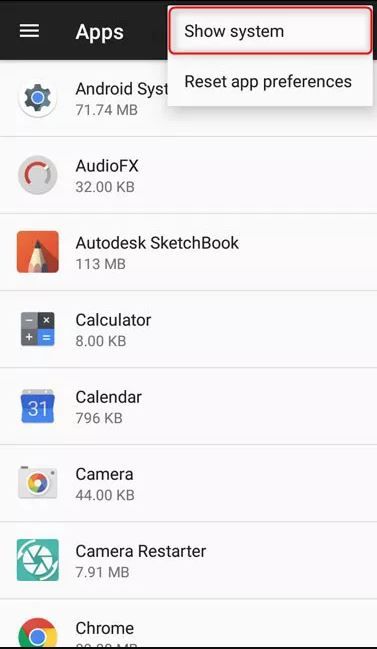
- Once you are under the Apps section, tap on the menu button located at the top-right corner.
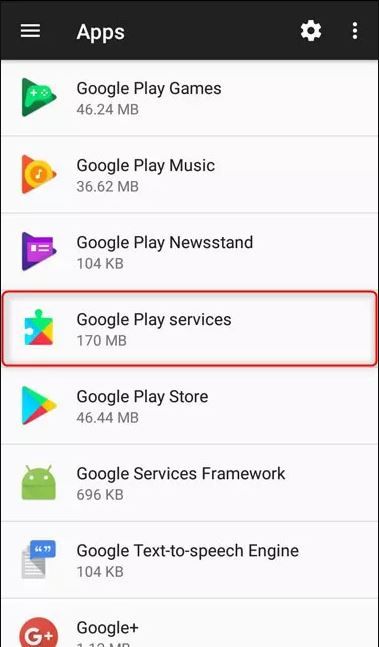
- Tap on the Show system option to see all the system apps.
- Now scroll down and look for Google Play Services. Remember, the apps are in alphabetical order. Once found, tap on it.
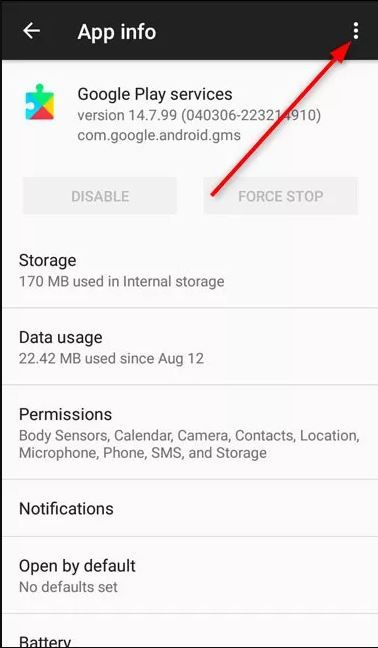
- Tap on the menu button located at the top-right corner.
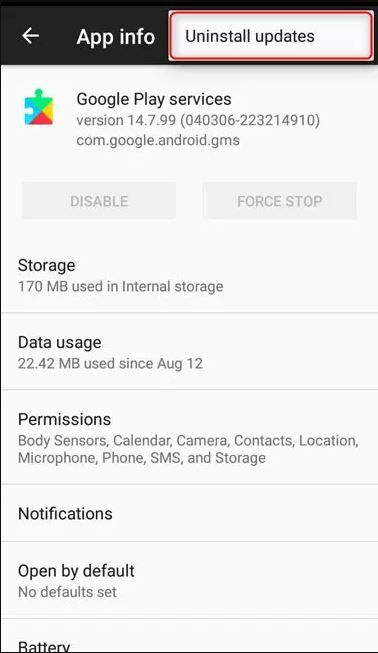
- Tap on Uninstall updates..
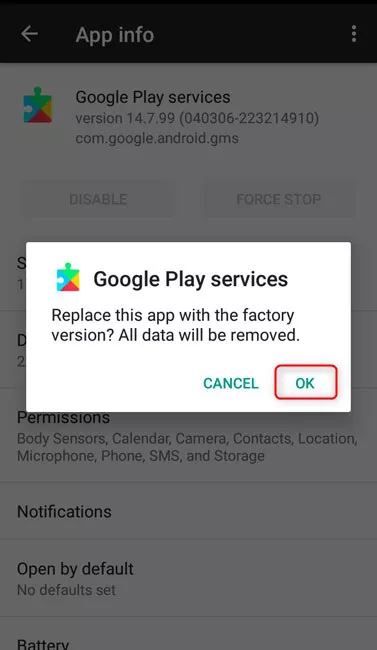
- A popup will appear asking you if you want to replace this app with the factory version? All data will be removed! Tap on OK button to proceed with the uninstallation.menu button.
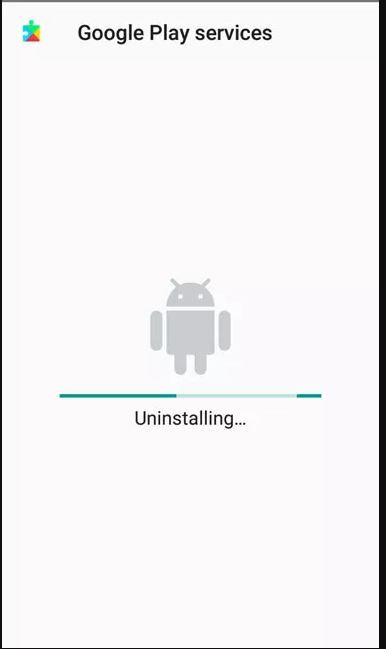
- Uninstallation process will now begin..
- Once Google Play Services has been successfully uninstalled and reverted to its factory version, you can then move onto the next step.

click image to enlarge

click image to enlarge
click image to enlarge
click image to enlarge
click image to enlarge
click image to enlarge
click image to enlarge
click image to enlarge
Install an old version of Google Play Services
Do you remember that you downloaded an old version of Google Play Services back in step 1 during the beginning of this tutorial? We will now guide you with the installation of that apk file.
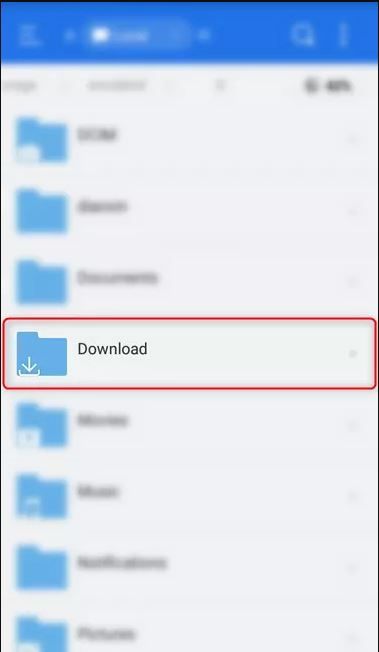
- Open any file explorer of your choice to browse to the Downloads folder where the apk file is located. You can use the built-in file explorer too. Here I am using ES File Explorer.
- Go to the Downloads folder.
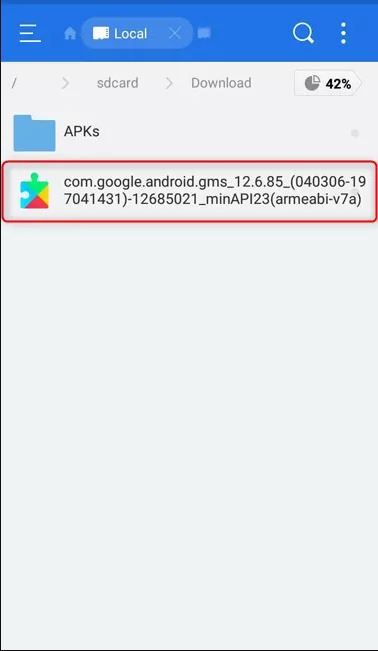
- Tap on the downloaded Google Play Services apk file. The package name will be com.google.android.gms.Google Play Services apk>
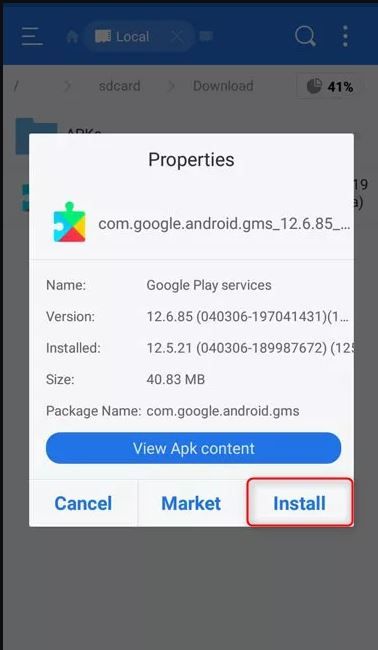
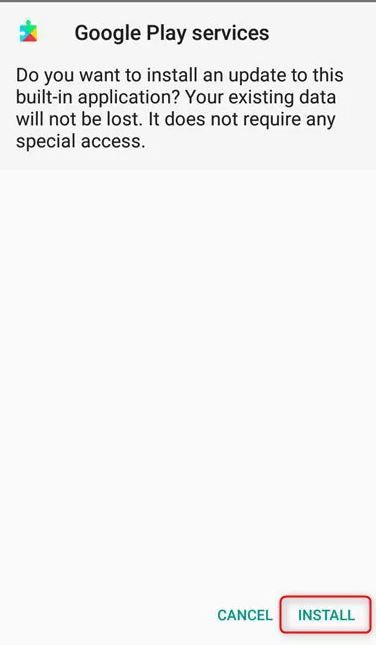
- A popup might appear, tap on the Install button to begin the installation process.
- The installation window will appear, tap on Install button.
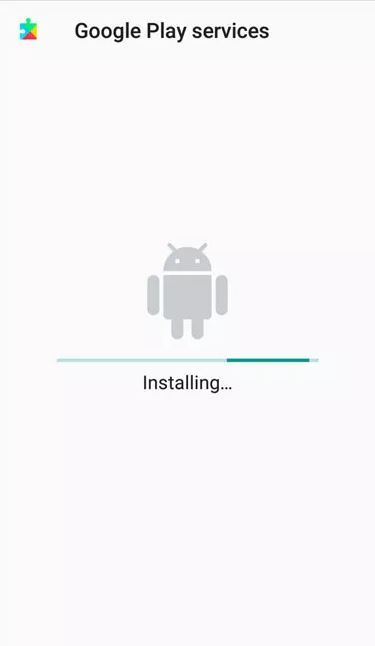
- Your selected Google Play Services will now begin installing.
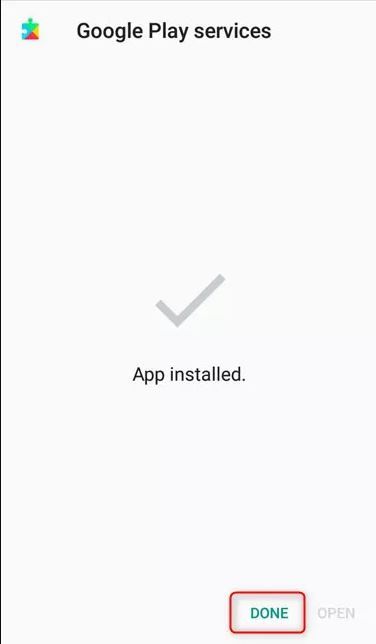
- Once installed, you will see the following page. Tap on the Done button.
- You can now head over to the next step.
click image to enlarge
click image to enlarge
click image to enlarge
click image to enlarge
click image to enlarge
click image to enlarge
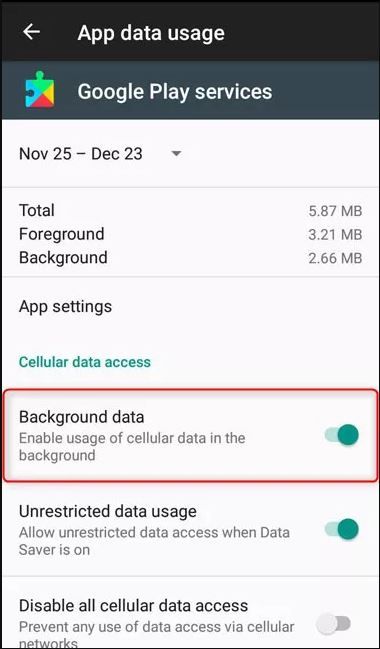
Disable Background Data Usage of Google Play Services
In this step, we will disable the Background Data usage of Google Play Services so that it won’t have access to the Internet connectivity and cannot automatically update itself to the latest version on its own. The steps are pretty much identical to the ones you followed in Step 4 above.
- Go to Settings and then find the Apps option. Tap on it.
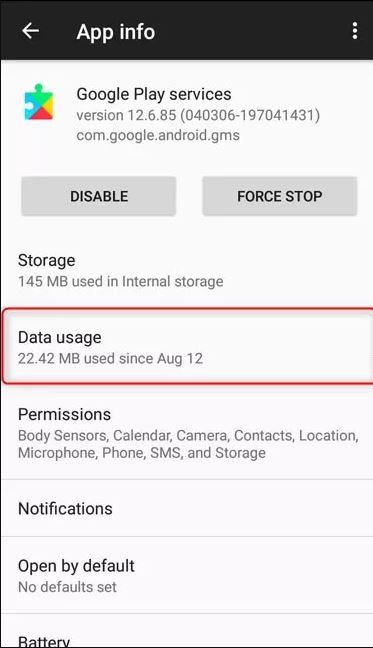
- Once you are in the Apps section, look for Google Play Services in the list and tap on it.
- Tap on the Data usage option.
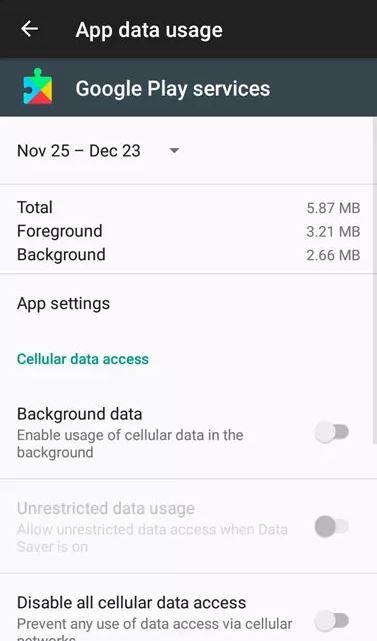
- Tap on Background data to disable it.
- Once disabled, it should look similar to the screenshot shown below.
click image to enlarge

click image to enlarge
click image to enlarge
click image to enlarge
click image to enlarge
Disable Google Play Store
This step is necessary because Google Play Store is designed to automatically update Google Play Services as well as other system apps without your consent due to security reasons. And there is no way to disable the auto updates other than completely disabling the Google Play Store. It’s easy, and here’s how you can do that:
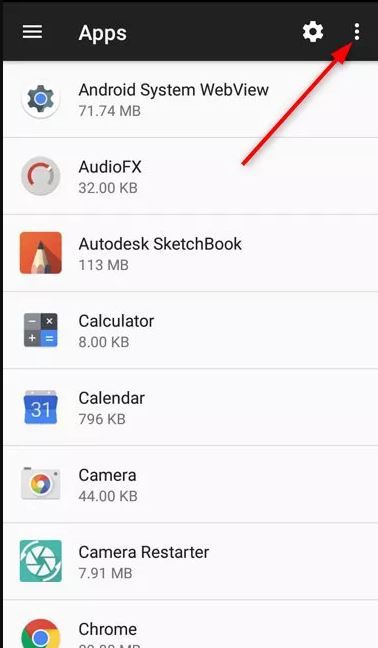
- Go to Settings and then find the Apps option. Tap on it.
- Once you are under the Apps section, tap on the menu button located at the top-right corner.
- Tap on the Show system option to see all the system apps.
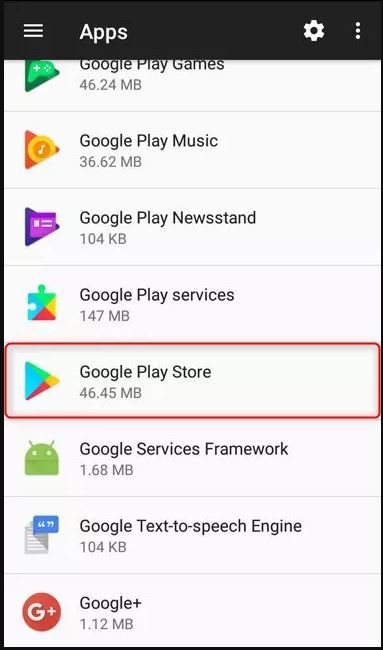
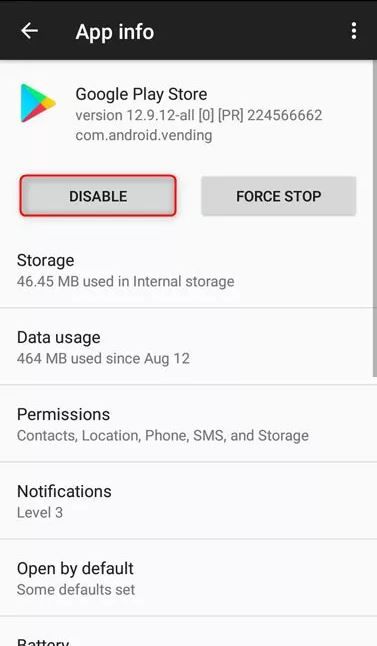
- Now scroll down and look for Google Play Store. Remember, the apps are in alphabetical order. Once found, tap on it.
- Tap on the Disable button.
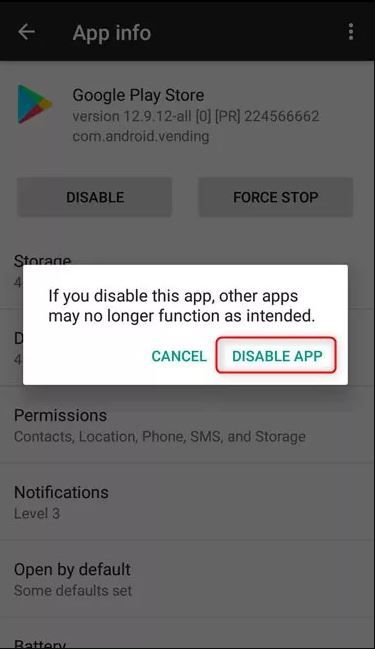
- A popup menu will appear asking you, if you disable this app, other apps may no longer function as intended. Simply tap on the Disable App button.
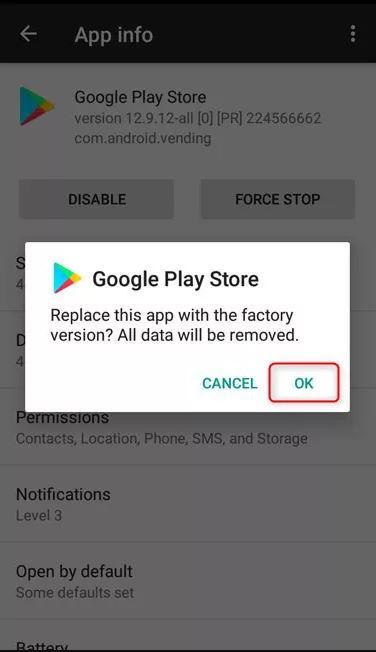
- Another popup will appear that asks, replace this app with the factory version? All data will be removed. Tap on OK to proceed.
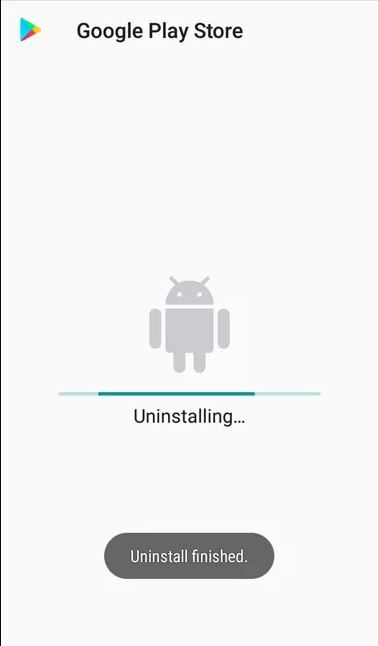
- Once Google Play Store has been disabled, you will see the toast message as shown in the screenshot below.
click image to enlarge
click image to enlarge
click image to enlarge
click image to enlarge
click image to enlarge
click image to enlarge
click image to enlarge
click image to enlarge